Friday, April 12, 2019

Cafe Mug Cozy Pattern

I love those Cafe style mugs, particularly my lovely clear Anchor Hocking mugs.


They go from hot to cold nicely and are non toxic (I quickly discovered that not all of those cute novelty mugs coming out of China are safe to drink from, particularly if you leave an acidic tea in them overlong and go in for a reheat... bleh. I know I'm more sensitive than most to these things now, but that had my stomach off for days). Anywho, I have my food safe mugs now, but I had a hard time finding any cozy pattern that would properly fit them. Cafe mugs have that signature bulbous middle making them wider than most mugs. But with a bit of effort, and a cute cable to emphasize the cafe mug tummy (is that a thing?) I've come up with something that I think works. Enjoy!


Cafe Mug Cozy

Materials Needed:

Worsted weight yarn
Size 9 needles (or size to make gauge)
Cable needle
Yarn needle
A large button

Gauge: 18 rows and 16 stitches over 4" (10 cm) in stockinette stitch

Instructions:

Cast on 16 stitches. 

Row 1: P1, K to end

Row 2: P1, K3, P8, K4

Repeat rows 1 and 2 three times more.

Row 9: P1, K3, Slip 4 stitches onto cable needle and hold to the front, K4, K stitches from cable needle, K4.

Row 10: P1, K3, P8, K4
Row 11: P1, K to end
Row 12: Repeat row 10
Row 13: Repeat row 11
Row 14: Repeat row 10
Row 15: Repeat row 9

Repeat rows 10 - 15 eight more times (you will use the cable needle ten times in all - 10 overlaps), bind of in knit stitch.

Button hole: At the end where you've just bound off pick up three stitches along the end and knit a strip in K1, P1, K1 every row until the strip coming off the end measures about 1 and 1/4", sew the strip to the other of the end to form a loop (keep strip flat with the work - do not twist). Weave in your end while also tacking down the final cable overlap to keep it from opening up or unfolding.

Button: At the beginning of the cozy, sew your large button over the pointed end while also tacking down the first cable overlap. Weave in ends.

Now button it up around your cafe mug and enjoy the hot beverage of your choice!


Saturday, November 03, 2018

The lost posts... finally finishing the Noro

Okay so I knew it had been a long time since I last posted, I didn't realize it had been about a year. If anyone is still following my blog they may well have noticed that my posts became less and less frequent after I moved to Texas. The reason is this, after a couple of months in the state, my health began to tank, in small ways at first but then things became much more noticeable and debilitating as time went on. It became just too difficult to keep up with even the things I loved. As it turns out I cannot handle the pollutants in a big city. If I hadn't grown up in the wilderness of Alaska I probably would have discovered this long ago. I had visited many places but had never stayed more than a month so I had no idea that I would react so badly.

Anyway, suffice it to say I couldn't stay in Austin Texas knowing what I now know. My husband and I now live on the Big Island of Hawaii and I seem to be slowly recovering tho I still have my bad days I hope to return to some state of good health soon. Anyone inclined to prayer if you would be willing to pray for me (if that's alright to ask) please will you do so. I may never get back to where I was but I hope to at least be functional and (hopefully) a more frequent poster about the things that I love.

And now on to more fun things... Today I finished dying the last of the lovely Noro yarn my brother gave me.


 I started with primary colors and custom mixed a bit of brown to faux dye a Kona Coffee festival tee shirt I'd made for an AG doll, hey, two birds... I actually did dye it in coffee but could not get the shade I wanted so hey, cheating a bit but I was happy with the end result.


So the first skein in primary colors, Easter egg dye of course, not as much fun as Kool Aid but still neat to watch those little tablets fizz...


And moving the skein to get the transitions...

 I did two other skeins in different color combinations using the rest of the tablets. Here they are drying in the Hawaii sunshine...


Needs must... as it turns out the straps on patio umbrellas work quite well for this purpose. And the light breeze coming off the ocean dried them quite quickly.


And the cakes at sunset, the lighting doesn't help show off the color but I'll get better pics when I've knitted them up. I particularly like the purple/yellow/blue one on top. :)

Saturday, November 25, 2017

Lovely Regina Mohair...

So I was shopping at my local thrift store and found these...


All 100% mohair and in excellent condition, two bags with 2 balls each, 99 cents a bag. I almost didn't buy it because it was orange. I like orange well enough but not for a whole garment. Then I thought I could over dye these with red and get a nice coral color. So I went, payed my tiny bit over $2.00, and took them home.


My first try at dying was with apple cider vinegar and fresh beet juice.... I don't know if it was the juice or the vinegar but it just didn't take, at all. So I had a second go with red food coloring and white vinegar and got exactly what I was hoping for :)


Now I'm picking out a project for them :)

Sunday, February 26, 2017

Major Noro Find!!!


Seven skeins of Noro yarn, a gift from my brother. He found them with a lot of other yarn in a box at the platform.Worsted weight, 79% wool, 21% silk! He was very generous, this is an awesome find. I might dye some. Thank you John!

Monday, May 09, 2016

A Simple Basketweave Head Band

I figured people might want a simple beginner project that's easy to make and knits up quick. As long as you know how to knit and purl you can make this little headband...


Cast on 10 stitches on size 8 needles in worsted weight yarn.

Work 6 rows -- K5, P3, K2
Work 6 rows -- K2, P3, K5

Repeat these 12 rows until you reach a length that will wrap around your head with a little bit or stretch. Seam together ends.

And that's it! Enjoy :)

Tuesday, April 19, 2016

EZ Sasha Doll Pattern Series -- The Bonnet

Long time, no post on knitting. Well never fear the knitting bug never left me...

I have recently acquired a Sasha doll. I've been wanting one for some time, the first time I ever saw one was on the Knitting Workshop with Elizabeth Zimmerman. She made all sorts of outfits for them, and now that I finally have one I am devoting myself to the task of knitting every one of her patterns for them. :D

So in anticipation of some vintage knits:

First up... The Bonnet.


I used a sweet little icy blue sequined yarn for this one. The bonnet is a nice little knit and the shaping at the back is brilliant. It occurs of course that the hat could be worn the other way 'round (in fact it says so in the instructions) so I gave it a try.


I actually think I like it better this way :) If you are interested in trying the Elizabeth Zimmermann Sasha patterns yourself, they can be found HERE

Next up: the tights! :D

Thursday, January 28, 2016

Project Completed!!!

Finished the bag, no sew baby blanket and little Allan Dart stuffed toys (modified to be baby safe) and got them all together for Steve!!!


He was quite pleased, he particularly liked the Darth Vader father's day card :)

Monday, October 26, 2015

Experimenting with See & Sew B5635

I tried another bag pattern, nothing fancy this time, leaving it just the size it is. This time it's See & Sew B5635, a grocery tote. I made the larger of the two sizes. Here's how it turned out...


I never seem to use things for their intended purpose. The previous bag was meant to be a purse and I enlarged it and used it for groceries. This time around I made a grocery tote into a baby bag. I think it will do fine for that purpose. It's a gift for one of my coworkers who's have a baby some months from now. I do intend to make more of these (for groceries) but for now, this one is going to be filled with little Allen Dart stuffed animals (I've already finished a cow) and a braided no sew fleece blanket (I gotta get cracking on that one).

I should say this was my first time working with store bought bias tape, I've sort of made my own in the past when only a little was needed but this bag required quite a bit so I broke down and bought some. I gotta say it's wonderful stuff, convenient, quick, and leaves a lovely finished edge. I'll definitely be using it again.

Saturday, August 08, 2015

Ch Ch Ch Changes...

More changes to the bag pattern... You'll notice my boy Archie in the pic.


I did make the body of the bag 7 1/2" bigger than the pocket piece and made significant changes to the strap. I made the new strap by cutting 3 pieces at 21 1/2" x 3 1/4" The three pieces are cut on a fold for extra length. And this is the end result...


So far I'm liking it, though when you use this much fabric it does tend to be a bit floppier at the top than the smaller version but it's not terrible. I may simply use a thicker fabric and leave out the pocket next time or add an additional layer of fabric to the main body of the bag (and either keep or leave the pocket as I choose). I may shorten the strap length a bit in the future, but right now being able to throw it over a shoulder seems pretty nice.

Saturday, August 01, 2015

Day of the Dead Bag - fun With Simplicity Pattern 1153

I decided now that I'm working at Jo Anns in the fabric section, I had to have a fun go-to project for when I came across good deals on cute cotton prints (which happily is fairly often). I now live in a city that has a bag ban and all shopping bags have to be ones you bring from home, so basically everyone needs shopping bags. Well there you go then, a unique opportunity to make something that everyone in my immediate area can use that can be custom made to suit the person receiving it. And if the bag itself isn't enough of a gift you can always fill it with something else. ;)

I started experimenting with Simplicity pattern 1153, as you can see it's got good bones, it just needs to be a bit bigger. I took the pattern in to Office Max and had them blow up the pocket section to 13 and 1/4 inch along what will ultimately be the bottom of the bag (I couldn't have the main bag section of the thing blown up because they said it was too big for their machines - no biggy, it's identical to the pocket section just taller, so I will adjust the height as I please).

I've made no enlarged copies of the straps but they seem only slightly smaller than what you'd find on a standard fabric shopping bag so I'll probably just widen them out a little, it looks like the length of the straps is good for the larger bag I've got in mind, as it's already long enough for a purse. A standard fabric shopping bag is 12 inches along the bottom and 14 inches from bottom to top. Since I'm starting with a bottom that's 1 and 1/4 inch larger than normal I may increase the height a little beyond the 14 inch mark, I'm thinking 15 inches or 15 and 1/2 inches from top to bottom. I plan to add 7 1/2 inches in height beyond the printed copy of the pocket to make up the body of the bag. Wish me luck. :)

Saturday, July 11, 2015

Travel Bags and being Locked in the Stocks

I was happily able to make the wonderful mosaic knit bag for our classes this July and August for JoAnn's.


This was a fun little knit and I certainly hope that people take an interest, it's so nice to be able to do color work where you only use one color at a time and the pattern is formed by slipping stitches. So much simpler than working with two colors at the same time. It looks so intricate and far more complicated than it actually is. And here are all the projects for the next two months put together.


I really like the crochet bag that Anna did, it's quite nice the way the blue and orange contrast.

Well I got the mosaic bag done and dropped off just before we had to pack for our trip to South Padre Island in Corpus Christi...


That's me and Aaron trying not to over toast ourselves in all that beautiful sunlight. We collected shells and waded out into the ocean. The water was wonderful and nicely warm :)


And this is me at the aquarium...


And me locked in the stocks outside of Blackbeards. All in all a very fun trip.

Friday, February 13, 2015

Adventures with Weeping Angels

Just recently returned from the 2015 Comic Con in Dallas Texas.... used my spare time in some of the convention lines to work on the Plum beret from the last post : ) but one of the most fun things we did was a little side trip to the Grove Hill Cemetary. Why did we go there? To visit the Weeping Angels of course.

There I am wearing the 1st Weekend Cable Beret I knit, just trying to cheer that angle up a bit.

And there's the 4th Doctor's scarf i knit a while back... opps, eyes closed but at least I'm smiling.

And here are me and my best buds with Jadzia Dax (Terry Farrell). My favorite pic of the bunch.

Lots of fun, and now I;ve got a ton of ideas for future cosplay costumes : )

Weekend Cable Beret

I discovered a fantastic pattern on Craftsy. The Weekend Cable Beret. It's available to buy here. A nice little cable knit at a great price, it knits up quickly and is just so much fun to do...

and so addicting. This is the first one I did in Serenity Chunky Weight from the Deborah Norville collection in Pristine.

Don't you just love how the choose their color names. I suppose pristine is a fairly fanciful name for white. And this...

is the same hat knit up in Lions Pride Woolspun in Plum.

I love the feel of both these yarns, and the hat knits up nicely (for me at least) with just one skein on size 10s. : )

So next on the agenda, another of these bad boys in Serenity Chunky Weight in Berry Burst. A sweet little color with a mottled raspberry look. Can anyone say Raspberry Beret? Yeah yeah, I've had that song in my head all day now : )

Friday, October 24, 2014

A Little More Who...

My latest attempt at a new pattern. The 1st Doctor scarf! Well I'd made it through the 4th Doctor's scarf so I figured why not? I'm doing it in segments that will be seamed later in mattress stitch...


Wish me luck, if it turns out well enough the pattern will be up for sharing soon. :)

Knitting in Texas

After a long recovery from knee surgery and a subsequent move to the lover 48 I have safely made it to Texas. I have since taken part in the 8th annual Yarn Crawl. Much fun! A friend bought the entry fee for me, and in return I'm making a surprise scarf for her...


It's in Whisper Lace by fibra natura. I hope she likes it :)


Monday, July 07, 2014

Easy Bulky Raspberry Cowl

I'd been dieing to knit myself a cowl that could easily function as a hood for quite some time, I'd also been jonesing to do more knitting with bulky yarns as projects made with the stuff knit up so quickly and give you that buzz over finishing up a project that much faster, and lastly, I'd been wanting desperately to come up with a project for that lovely Black Raspberry Charisma yarn by Loops and Threads I kept seeing at work. So... I decided to satisfy all three urges at once.


It works nicely as a hood, or a neck warmer...


 And it can even snug down over the shoulders nicely.


So if anyone is interested, here's the pattern.

Easy Bulky Raspberry Cowl

Knit flat

2 skeins of Loops and Threads Charisma in Black Raspberry

Size 15 US needles

Cowl is knit using two strands of yarn, both skeins used at the same time. I tried to line up the two strands so that the color changes occurred at the same time.


Gauge: 8 stitches over 4 inches


Cast on 62 stitches


Do 5 rows in stockinette stitch, starting and ending with purl rows.

Then knit the next 47 rows in stockinette stitch starting and ending with purl rows.

Then knit the last 5 rows in stockinette, starting and ending with purl rows.

Sew a seam up the side in mattress stitch, from purled end to purled end. Weave in ends.


Thursday, June 12, 2014

Adventures in (Needle) Felting

Felting... I've done it. I've done it with hats and it was quite fun.

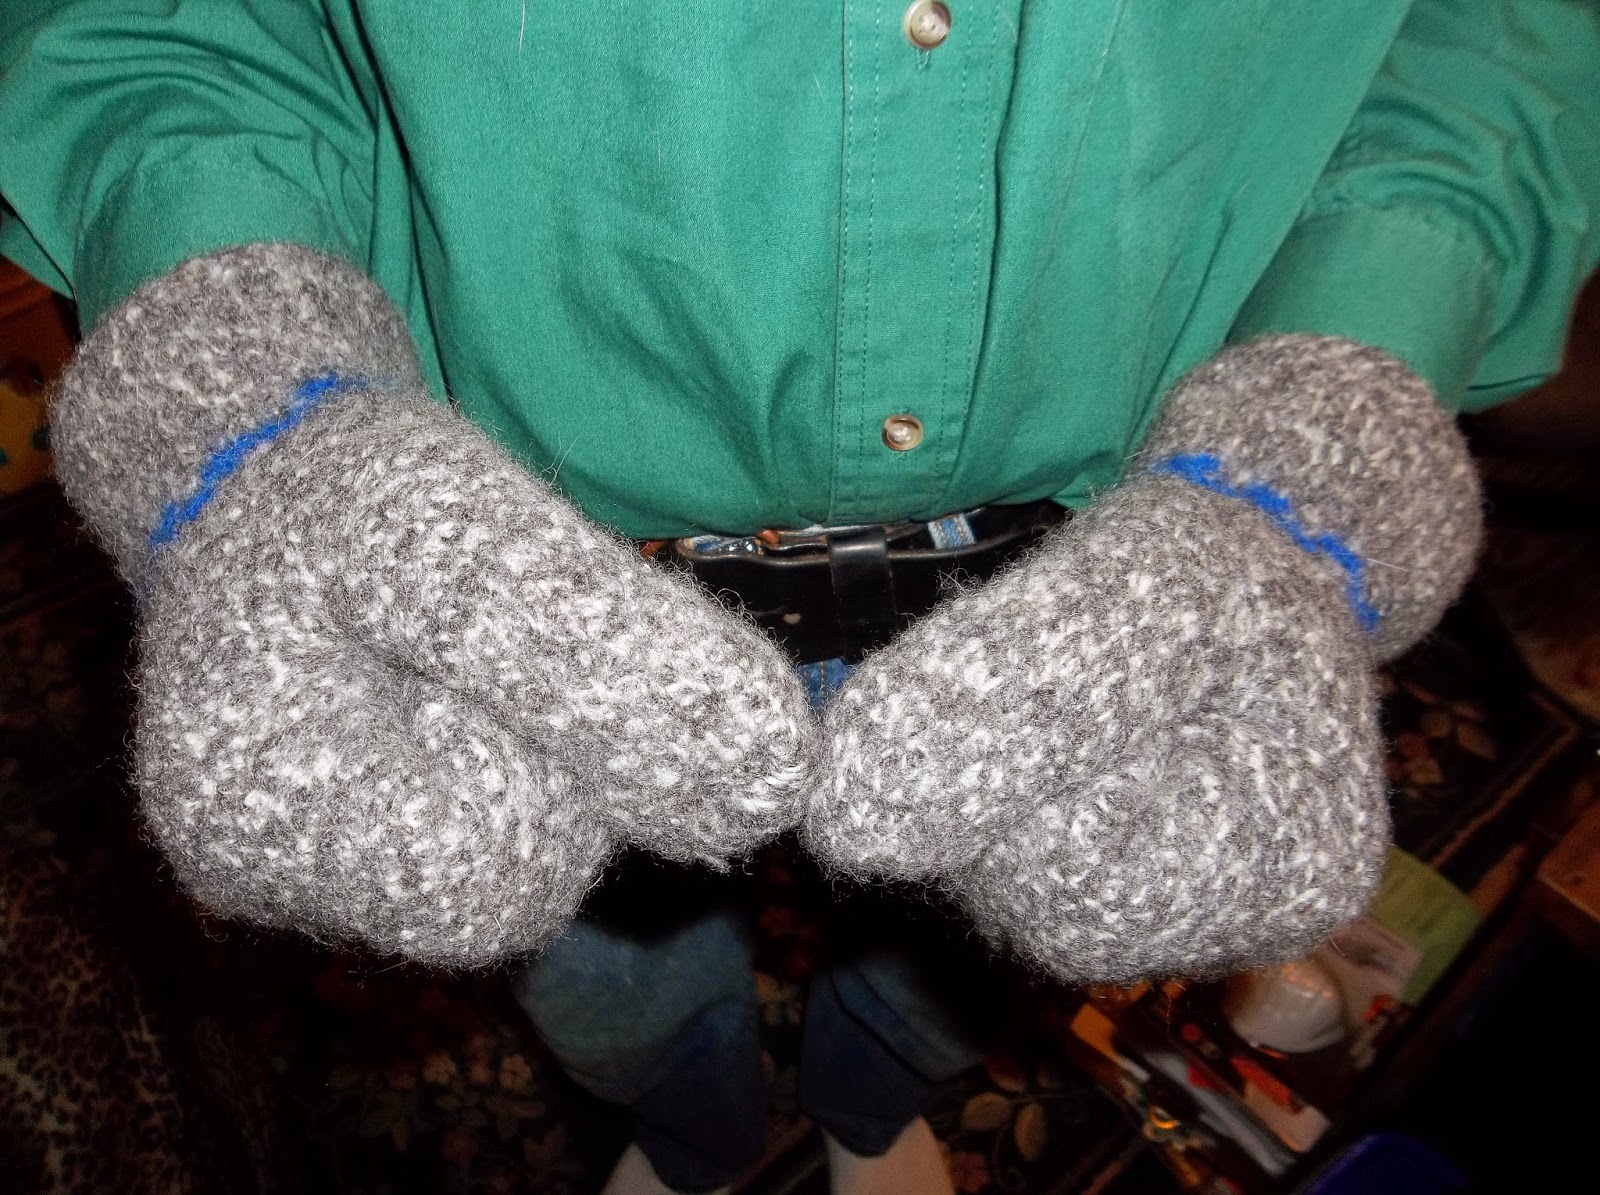
And when a friend told me that he needed some gloves for when he was out working his trap lines (nothing fancy he said, just thick, warm, and functional) I figured a felted glove would be just the thing. So I knitted up and felted the gloves. But much to my surprise...


You'll note that despite my knitting them both exactly the same, try as I might one felted up with a larger thumb.

Note to self: difficulties may arise when felting down sets of items rather than just a simple, single object, like say for example, a hat.

So where my washing machine was failing me I decided to give my felting needle a try. I've done needle felting before, it's fun, felting little animals, cute little frogs ect... Surly it must be possible to needle felt a wool thumb down a bit.

What follows is the way that I handled the problem, I'm not sure if it's the right way, but it is how I dealt with it and I think it turned out quite well.


I snipped the thumb once...

Then quartered it...


Then thinned the layers a bit.


I then put the thumb over the handle of a broomstick, overlapped the quarters and needle felted them together (It helps if the broomstick is the kind with a hole in the handle for hanging up the broom, this allows you do get a bit more depth with the needle).


I then turned it inside out and needle felted the inside along the thumb's edge.


Then I added in some extra wool by throwing a few stitches in there with a blunt tipped needle, and washed the glove again. A little more needle felting and...


Done and done :)


Much better


The final result, with my husband lending man hands to the modeling of the gloves :)